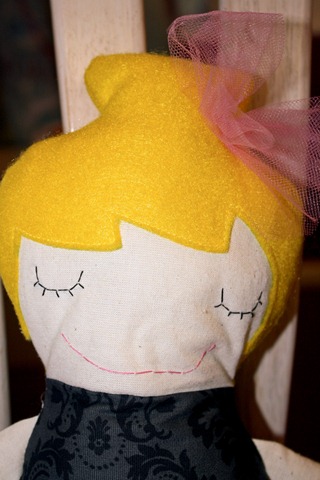
Just 2 days before Christmas, and I finally got the doll done. I tried to be sneaky and not let my 3 year old know what I was doing. I told her Santa asked me to make something for her, and that she couldn’t look at what I was working on (like that was really going to work). I thought I was doing O.K. until Day said, “Mom Addison is going to get my doll.” She totally knew. Oh-well….I love how it turned out. 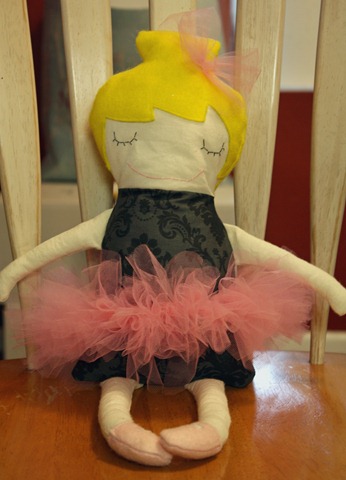 I added a ballerina bun to her hair (it ended up a more square than I intended it too).
  Ballet Shoes
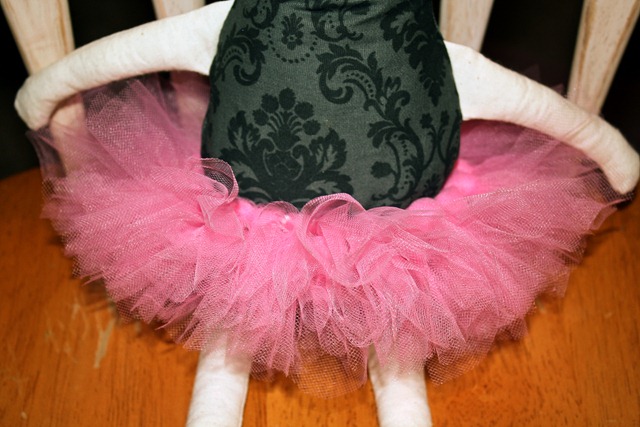
 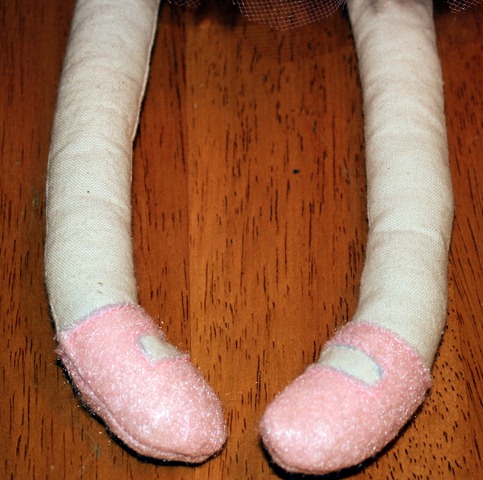 And a ballerina tutu. I made a mini version of this tutu.
Thursday, December 23, 2010
Ballerina Doll….
Friday, December 17, 2010
Ornaments…
This weeks the craft I decided to make was ornaments. The first one I made (and didn’t take pictures of) was this from Little Birdie Secrets. She made a star wreath, and below showed making ornaments with the stars instead of the wreath. I made one and added it as an embellishment to a gift. It was really cute…if only I’d taken a picture of it to show you all.
The next ornament inspiration came from this Pottery Barn ornament. After making the signs last we decided we could make this ornament. So a group of us got together and that’s just what we did! We decided to make them square, since squares are so much easier to cut than circles. My friend Tori is planning on putting them on Martinelli’s bottles as gifts for families. Good idea huh??? I decided to just make them for my family (selfish I know), and put them on our tree.
Pottery Barn Ornament 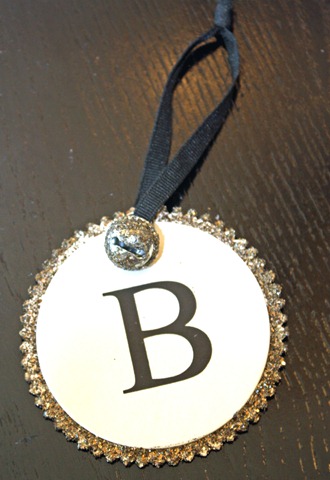 What you need:
Cardstock for squares (or circles)
-Big Square 9cm x 9cm
-Small Square 6 1/2 cm x 6 1/2 cm
Mod Podge or glue
Glitter
Hole Punch (I used my handy crop a dile for the hole punch/grommets)
Grommets
Ribbon
Letter (stickers or cardstock)
Scissors
Decorative Scissors
Glue Gun
Instructions:
Cut big square with decorative scissors.
Mod Podge/glue edges and add glitter – let dry
Use Glue Gun to glue the small square on top of the big square.
Punch hole in top (I did mine on the diagonal, but you can center it in the middle and have it hang square).
Insert Grommet
Add Ribbon
Glue/Stick on letter. (I traced/cut my letters out of cardstock)
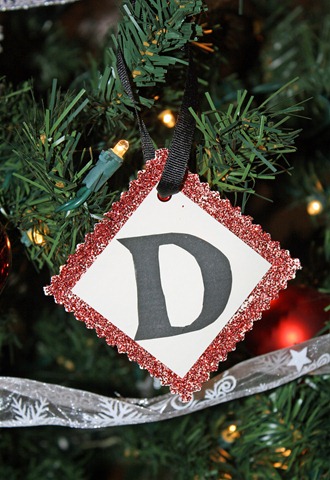
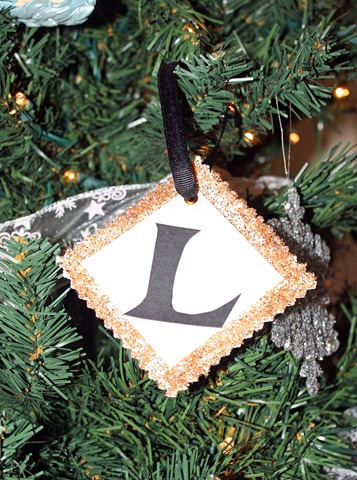
The finished ornaments
A-Aaron, L-Lindsay, D-Daylynn and A-Addison 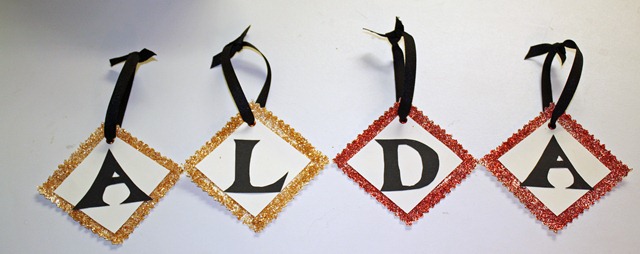 Sticker letters probably would look better, but it works.
Saturday, December 11, 2010
Christmas Sign…
My friend found this cute Halloween sign at The Bateman Buzz, and thought it would be cute to do one for Christmas. We originally want to have it say, “Merry Christmas.” When we really thought about it we thought a shorter word would be more manageable with all the kids. We went with Noel, and I am in love with it! I didn’t have any Christmas decorations in my eating/computer area, and this added just the right touch.
What you need:
Scalloped Note cards (one for each letter)– we didn’t have any, so we used cards and cut them with scalloped scissors.
Scrapbook Paper
Letters (we traced ours off the computer. Vinyl, stickers or dye cute would work great too).
Ribbon to string the cards
Hole Punch
Pom Poms (optional, but they do add a little something extra)
Sparkly pipe cleaners
Glitter (optional)
Glue Gun
Take note cards glue layer(s) with paper. Add embellishments like glitter, pom poms and pipe cleaners and letters. Punch holes in the top (easier if done before adding everythig), string ribbon through holes and hang.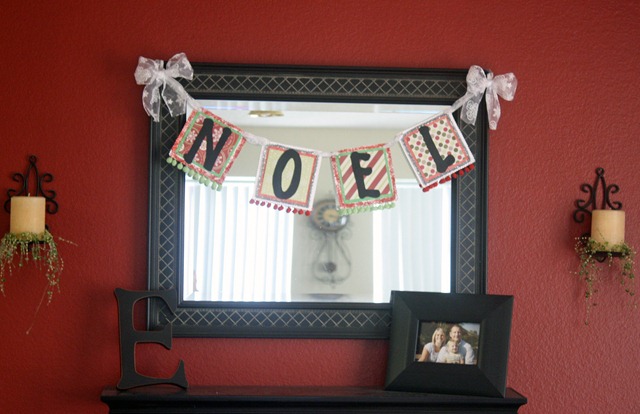
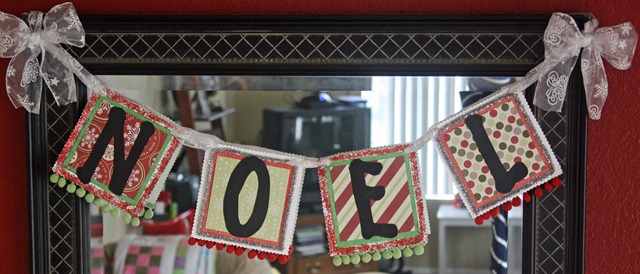 Now I have to make one for every holiday!
Tuesday, December 7, 2010
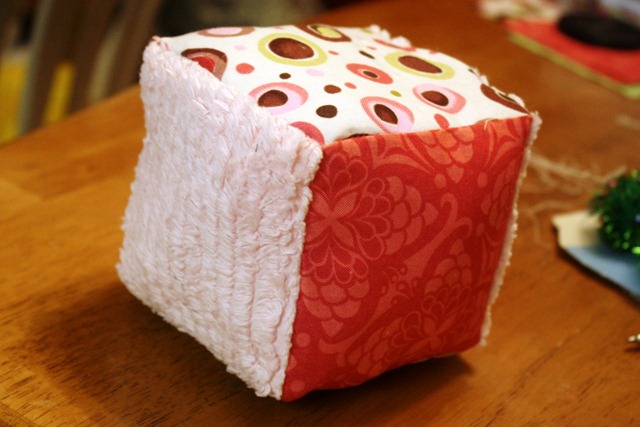
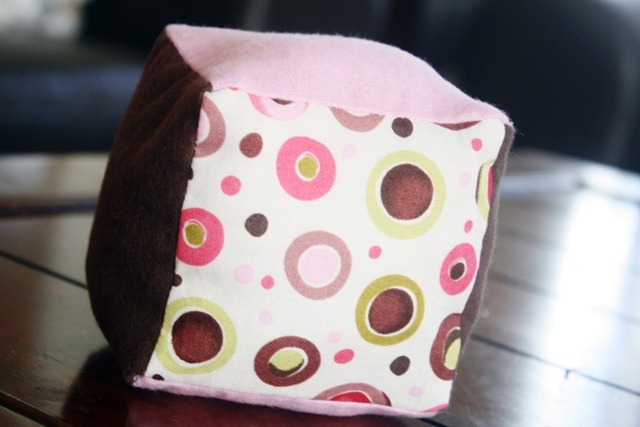
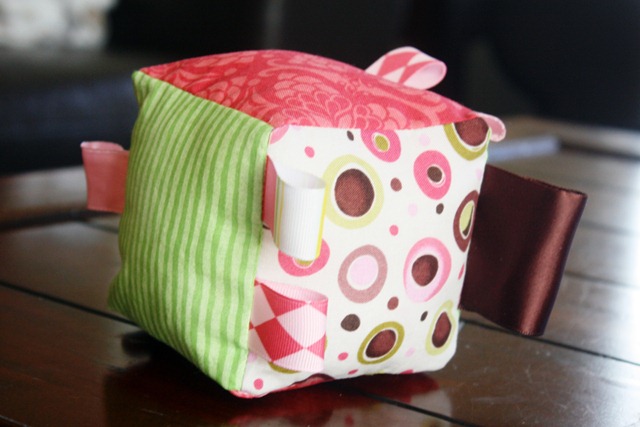
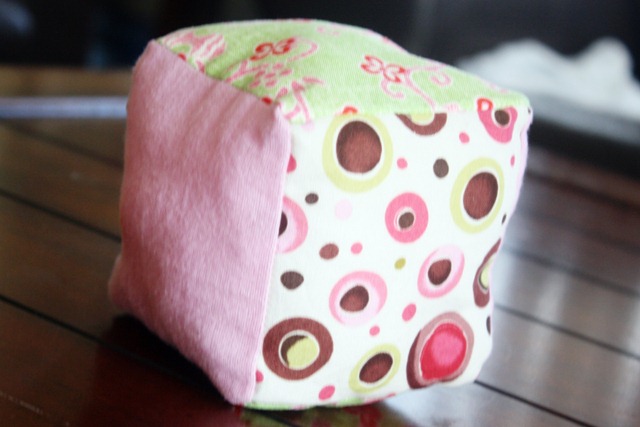
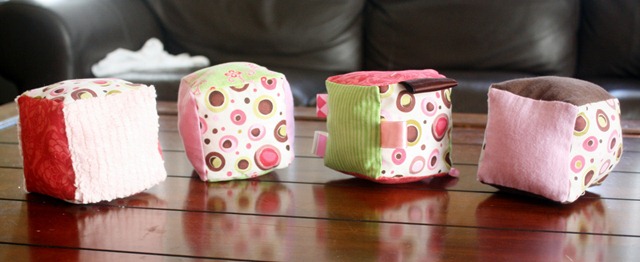
Blocks…
 Decide which fabric you want to be the top and bottom. Then cut the coners a quarter inch in. It’s best to measure…I learned from experience.
 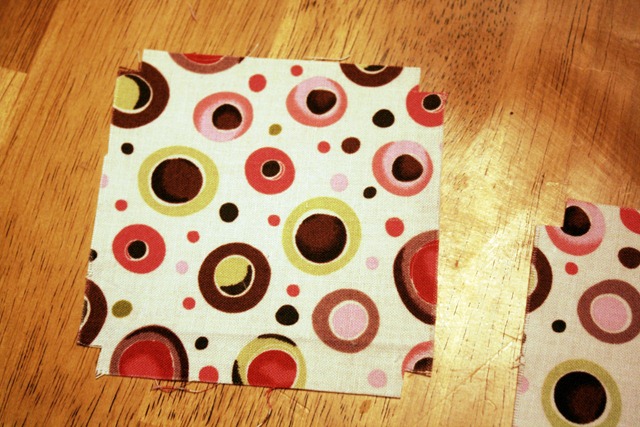 Sew the other 4 squares together.
  Fold strip of fabric in half right sides together and sew together creating a box.
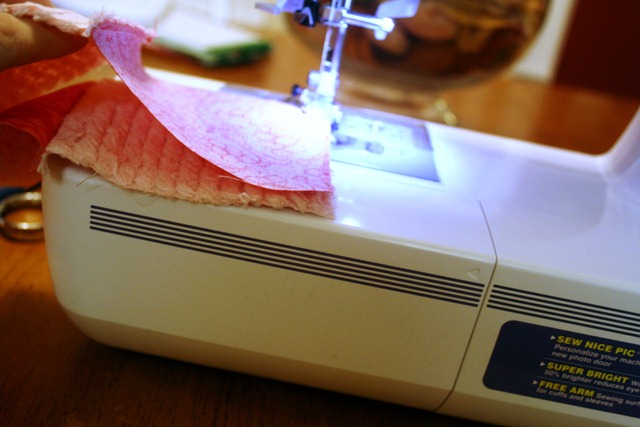
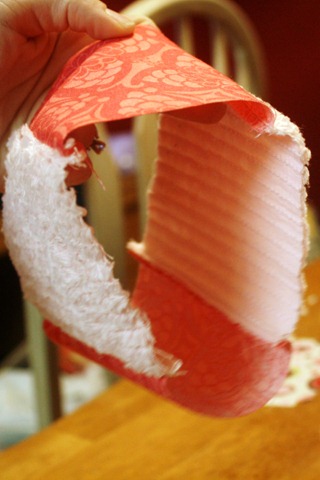 With the right side of the fabric inside add the top and bottom piece.
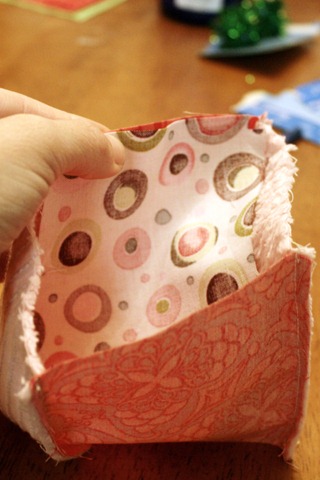
 Leave a small opening on one end of the square, so you can flip it out and fill with batting.
  When done, hand sew the opening closed.
